A Closer Look at My New Invitations
I’m so excited to finally be able to share what I’ve been working on the last couple months. I’ve gone back and forth about what all I want to offer in my shop for a long time now. Shipping is much more costly and difficult than it was when in the US so I’ve wanted to sell things that were digital. I had thought about selling my old art digitally but have been unsure about just putting my art out there like that. And then it just suddenly hit me one evening that I could sell custom invitations. They would fit in with the vibe of my shop with being both personalised and mostly centered around babies/children (even though any of it can be for other purposes). Plus with each invitation being so custom it wouldn’t be as easy to just resell them.
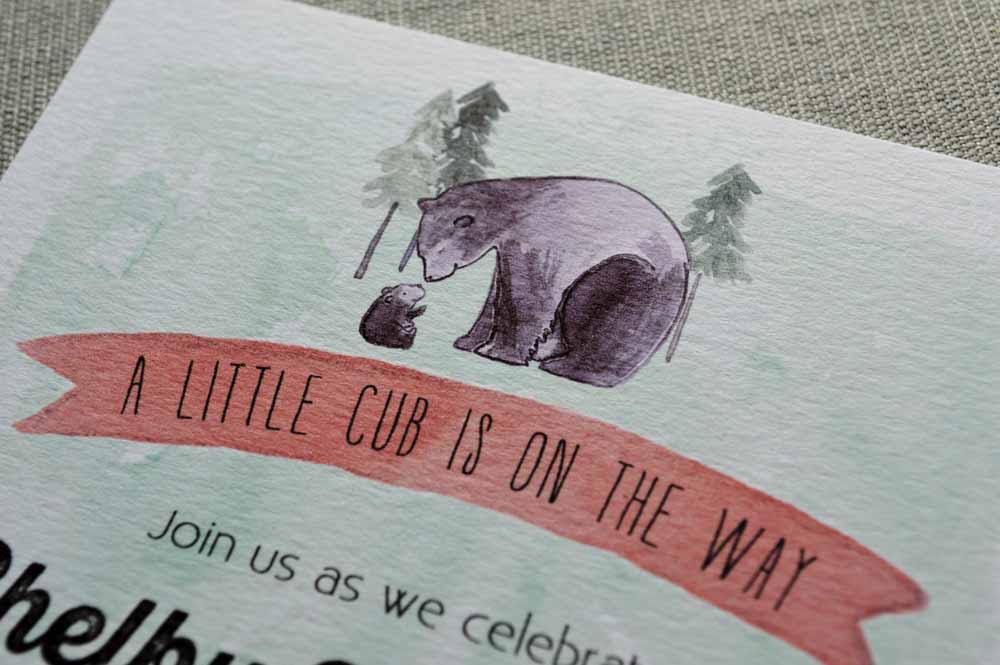
I love painting with watercolors and so enjoyed some quiet evenings while the kids were asleep painting different animals, vines, banners, backgrounds, etc. I used the animals for my ornaments as a starting off point since if someone is buying the ornament they may also be helping with a baby shower! So, they can coordinate!! And then I made a couple others that might be popular baby shower themes. I want to continue to add more in the future but started with 6 different options. And 2 of those options I have made in a blue/pink version.
For the process I played around and painted on watercolor paper until I got things I liked. Then I scanned the paper and brought it into photoshop elements. Since I painted different pictures on the same page I isolated them and saved them separately so I could move them around and work with them individually. It was fun to play with them.
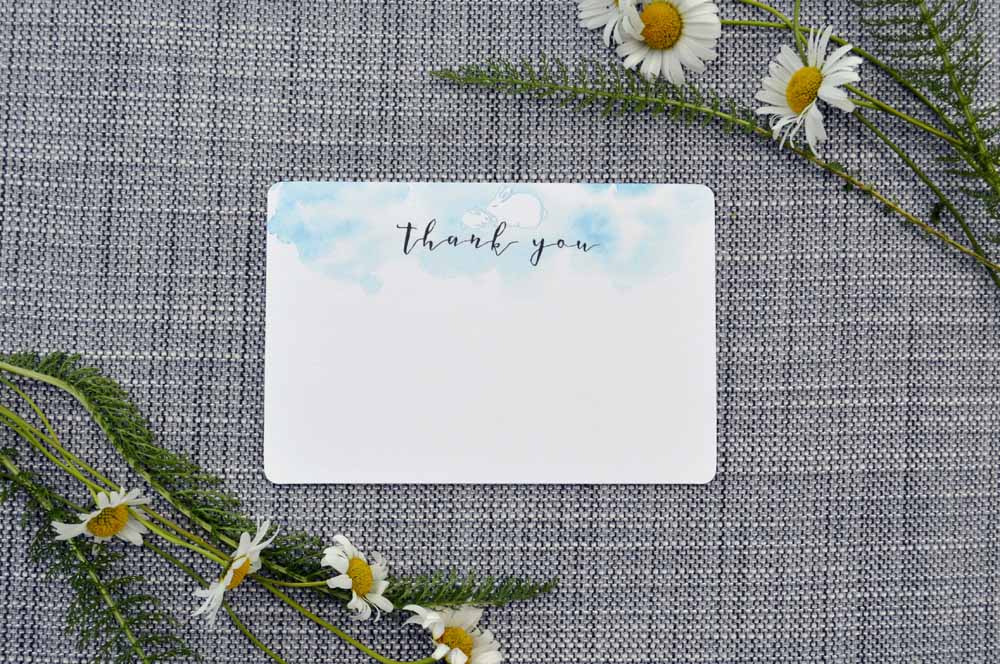
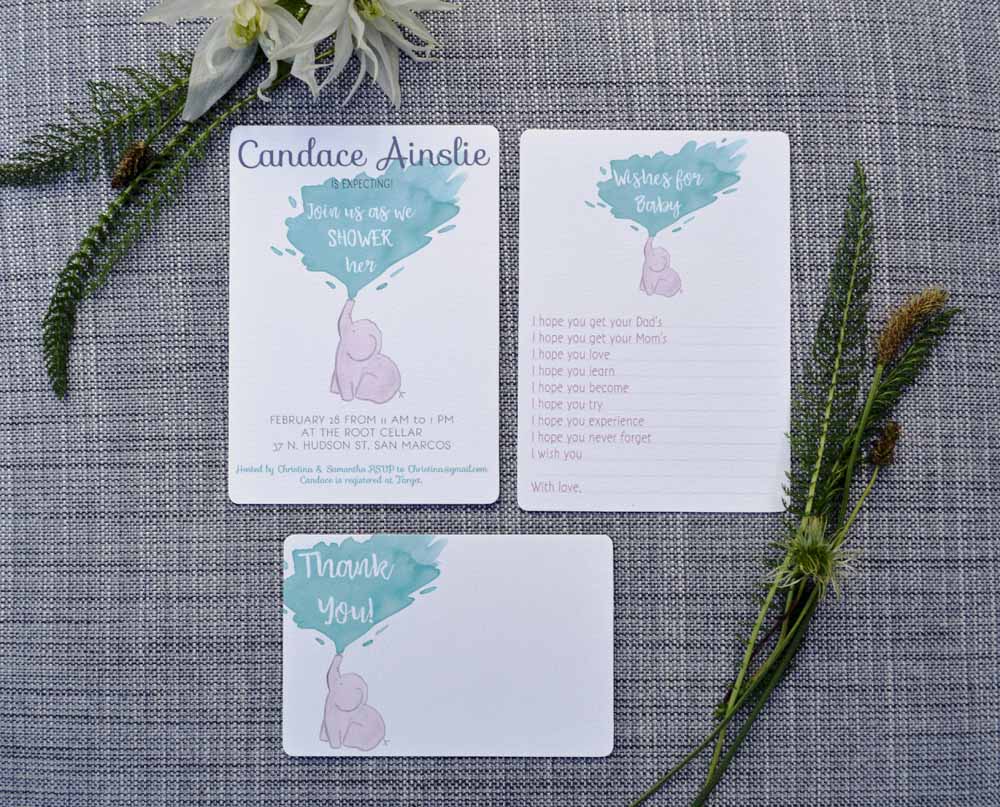
I continued to work with them until I got them just right. (A fun fact: For the information I put on each invitation, I used first and last names from different friends and family and also places and numbers that mean things to me.) At first, I had planned on only offering invitations but then I thought it would be fun to offer coordinating items to go with each one. So, I made a matching thank you note and also a shower activity called “Wishes for Baby”.
It’s funny, before I moved here I was involved with hosting SO many showers. I was/am in that stage of life where everyone in my friend circle is having more and more babies and so I was always helping to host them. For the last few I did I was usually the one designing the invitations so it’s really pretty natural for me to be doing this now. I’m not sure why it didn’t occur to me sooner. Part of hosting showers was figuring out games/activities to do and so I thought I had seen most of what is out there. I noticed this “Wishes for Baby” activity when doing some research for this and couldn’t believe I hadn’t come across it before. It’s so sweet. It’s a little form that each guest fills out with hopes for the baby. The parents can then keep them and look back at them as the child grows. There are things like “I hope you learn…”, “I hope you get your Mom’s/Dad’s…”, “I hope you try…”, etc. So, I made one of these cards to match each invitation. In the future I may add some other things as well. Let me know if you have any requests!!
After creating them digitally I then printed them out to see if they looked good in real life. There were a couple that I made changes too once I saw them printed. When I used to sell my prints I used archival quality Epson paper that was so thick and lovely and textured. It really made the ink colors so deep and gorgeous. I don’t have that here but figured the watercolor paper I used to paint on would give a similar look. So, I cut it out of my spiral since it was a standard A4 size and it worked great. I highly recommend it as a cheaper way to make your invitations LOOK super professional and expensive. Also, with the designs being watercolored it really makes them look like they are painted on and not printed.
I also bought a corner craft punch so that I could make the corners rounded. They looked good with normal corners but once I rounded them it really elevated the look.
Most people on Etsy who sell similar items just show a mock up that is just digital but I wanted to take pictures of mine to show the real thing. I wasn’t entirely sure what I was going to use as a backdrop and was also waiting on some good natural light to take the photos. On the day that I cut the paper and corners I had them laid out on my couch. When I was done I looked down at them all and realised that I could use a couch cushion as the backdrop! Ha. It is a light gray and has lots of texture which is what I was wanting to contrast with the white paper. Once I get an idea in my head I’m not usually great at waiting and want to do it right away. So, I told Ken I was going to walk down to the park at the end of our street and pick some flowers. I grabbed one of the kid’s Easter baskets and some scissors and cut different wild flowers, purple leaves off of a tree, plus some grasses and twigs. It was probably after 7 pm and the sun stays up here during the summer hours really late but it was cloudy which was making it get darker than it could be. So with my sunlight running out I put an old blanket on the ground out behind our house, put a cushion on top of that and then played around with putting the prints on it and surrounding it with groupings of flowers and leaves. Afterwards I could hardly stand up again since I had been bending over for so long. My back actually hurt for a couple days after that…apparently I need to do some back exercises. It was great to have that stage complete though.
I also needed some other close ups of each piece and realized the blackout curtains in my bedroom would work for that with them also being gray and having a slight texture. So I put our ironing board next to the window, laid the curtain on it and then took turns taking pictures of each print. So funny that my sofa and curtains became the backdrop. But the price was right!
The next step was figuring out how to format it for people to be able to download it and print it. It took me a while to figure out how to do that and then do it 48 times for the ones that are instant downloads (which are the thank you notes and activity since they aren’t custom). I made it so for each of them you can have the option to print yourself with 2 on a page sized for both letter size which is the standard 8.5×11 inches that Americans use or A4 which Europeans use. I also uploaded a jpeg of the print’s actual size in case people need it that way.
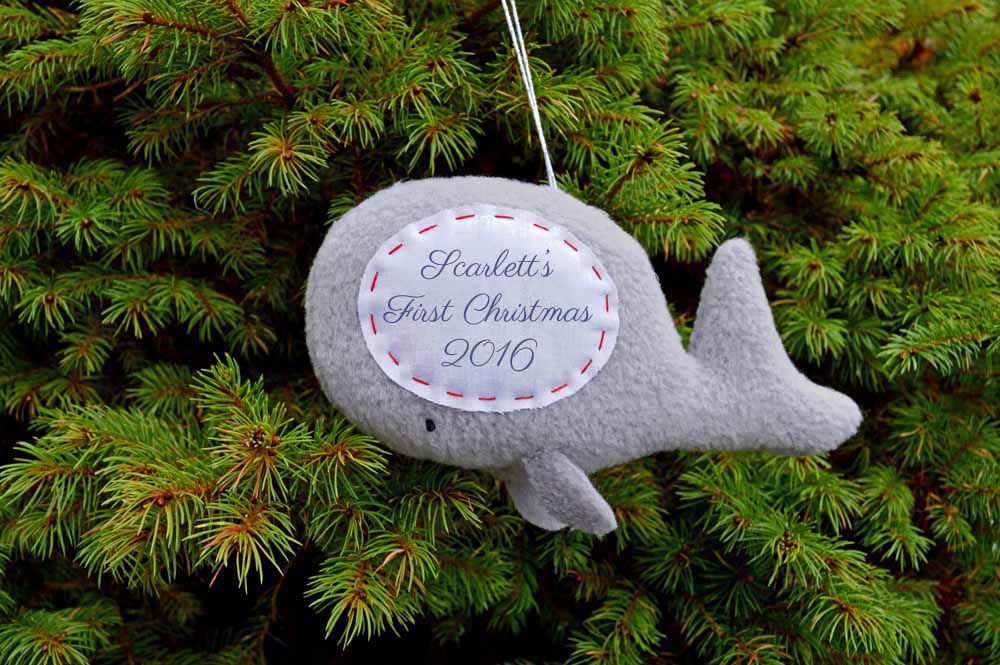
For the invitations, you will tell me what you want it to say and I’ll email you your own custom invitation! I also think a perfect gift idea is to give the mother-to-be one of my baby’s first Christmas ornaments to match as a sweet way to remember the baby shower.
Well, so that was a bit about the process from first idea to final product. I hope you’ll keep me in mind the next time you are needing some printable invitations!!!
A Closer Look at My New Invitations Read More »


